


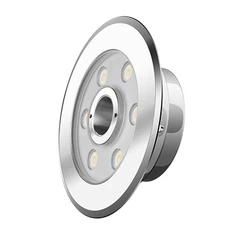


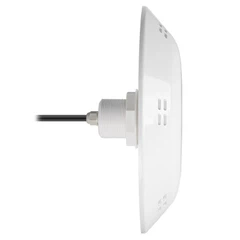


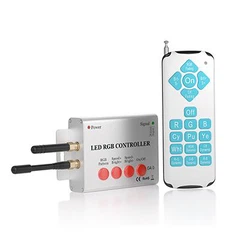
Hey there! As a supplier of LED spikes, I'm super stoked to share with you a step - by - step guide on how to install LED spikes on a fence. It's a pretty cool project that can add a touch of style and safety to your outdoor space.
Why Choose LED Spikes for Your Fence?
First off, let's talk about why LED spikes are a great choice. LED spikes are energy - efficient, which means you'll save on your electricity bills in the long run. They also last a really long time compared to traditional lighting options. Plus, they come in a variety of colors and styles, so you can customize the look of your fence to match your personal taste. Whether you want a soft, warm glow or a bright, colorful display, LED spikes have got you covered.
Tools and Materials You'll Need
Before you start the installation process, you'll need to gather some tools and materials. Here's a list of what you'll typically need:
- LED spikes: Of course, you'll need the spikes themselves. You can check out our Spike Lights for a wide range of options.
- Drill: A power drill will be essential for making holes in the fence for the spikes.
- Screwdriver: You'll need this to secure the spikes to the fence.
- Measuring tape: To ensure that the spikes are evenly spaced.
- Level: This helps you make sure the spikes are installed straight.
- Safety goggles and gloves: Safety first, folks!
Step 1: Plan Your Layout
The first step in installing LED spikes on your fence is to plan out the layout. Decide how many spikes you want to install and where you want to place them. Measure the length of your fence and mark the spots where you'll be installing the spikes. Keep in mind that you'll want to space them evenly for a more uniform look. You can use a measuring tape to make accurate marks. Also, think about the purpose of the lighting. If you're using the spikes for security, you might want to place them closer together.
Step 2: Prepare the Fence
Once you have your layout planned, it's time to prepare the fence. Clean the surface of the fence where you'll be installing the spikes. Remove any dirt, debris, or paint that might interfere with the installation. If your fence is made of wood, you might want to sand the area lightly to create a smooth surface. This will make it easier for the spikes to be attached securely.

Step 3: Drill the Holes
Now it's time to drill the holes for the spikes. Using your drill, carefully drill holes at the marked spots on the fence. Make sure the holes are the right size for the spikes. If the holes are too small, the spikes won't fit. If they're too big, the spikes won't be secure. You can refer to the product instructions that came with your LED spikes to determine the correct hole size. It's a good idea to wear safety goggles while drilling to protect your eyes from any flying debris.
Step 4: Install the Spikes
After drilling the holes, it's time to install the spikes. Take one spike at a time and insert it into the hole. Use a screwdriver to secure the spike to the fence. Make sure the spike is straight and level. You can use a level to check. If the spike isn't straight, it won't look right and might not function properly. Repeat this process for all the spikes you've planned to install.
Step 5: Connect the Wiring
Once all the spikes are installed, it's time to connect the wiring. Most LED spikes come with a wiring system that allows you to connect them together. Follow the instructions carefully to connect the wires. Make sure the connections are secure to avoid any electrical issues. If you're not comfortable working with electrical wiring, it's a good idea to hire a professional electrician.
Step 6: Test the Lights
Before you consider the installation complete, it's important to test the lights. Plug in the power source and see if all the spikes are working properly. Check for any loose connections or non - functioning lights. If you find any issues, troubleshoot them right away. You might need to check the wiring connections or replace a faulty spike.
Additional Tips
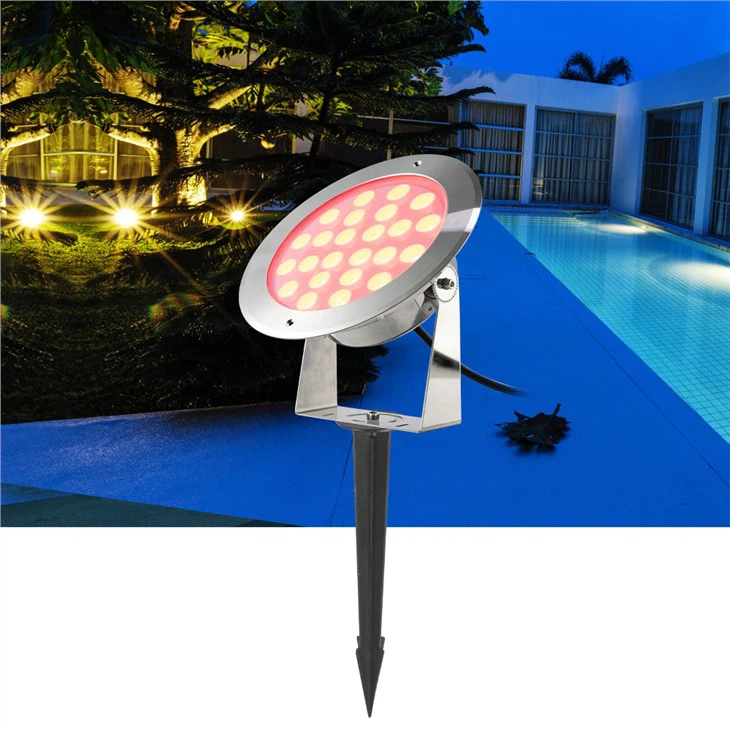
- If you're installing the LED spikes in an area that gets a lot of rain or moisture, make sure the spikes are waterproof. You can find waterproof dc24v ground spike lights that are perfect for outdoor use.
- Consider using a timer or a motion sensor with your LED spikes. This can help you save energy and add an extra layer of security to your property.
- If you want to create a more ambient lighting effect, you can use Floor Lamp in combination with the LED spikes.
Conclusion
Installing LED spikes on a fence is a fun and rewarding project that can really enhance the look and functionality of your outdoor space. With a little bit of planning and the right tools, you can have your fence looking amazing in no time. If you have any questions about our LED spikes or need more installation tips, don't hesitate to reach out. We're here to help you with all your lighting needs. Whether you're a homeowner looking to spruce up your backyard or a contractor working on a big project, we've got the products and expertise to meet your requirements. So, why wait? Start your LED spike installation project today and transform your fence into a stunning display.
References
- General knowledge of LED lighting products and installation techniques.
- Product manuals of our LED spike lights.