


Hey there, pool owners! I'm a supplier of LED pool lights, and I know firsthand how a well - lit pool can transform your swimming experience, especially when your pool has a sloped bottom. In this blog, I'll walk you through the process of installing LED pool lights in such a pool.

Why Choose LED Pool Lights?
Before we dive into the installation process, let's talk about why LED pool lights are a great choice. First off, they're energy - efficient. Compared to traditional incandescent lights, LED lights use significantly less power, which means lower electricity bills in the long run. They also last much longer. You won't have to worry about frequently replacing bulbs, saving you both time and money.
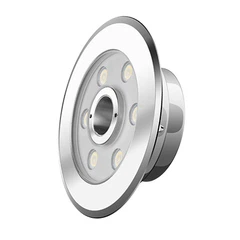
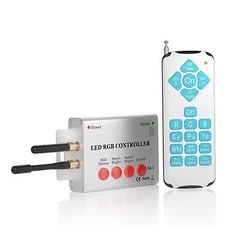
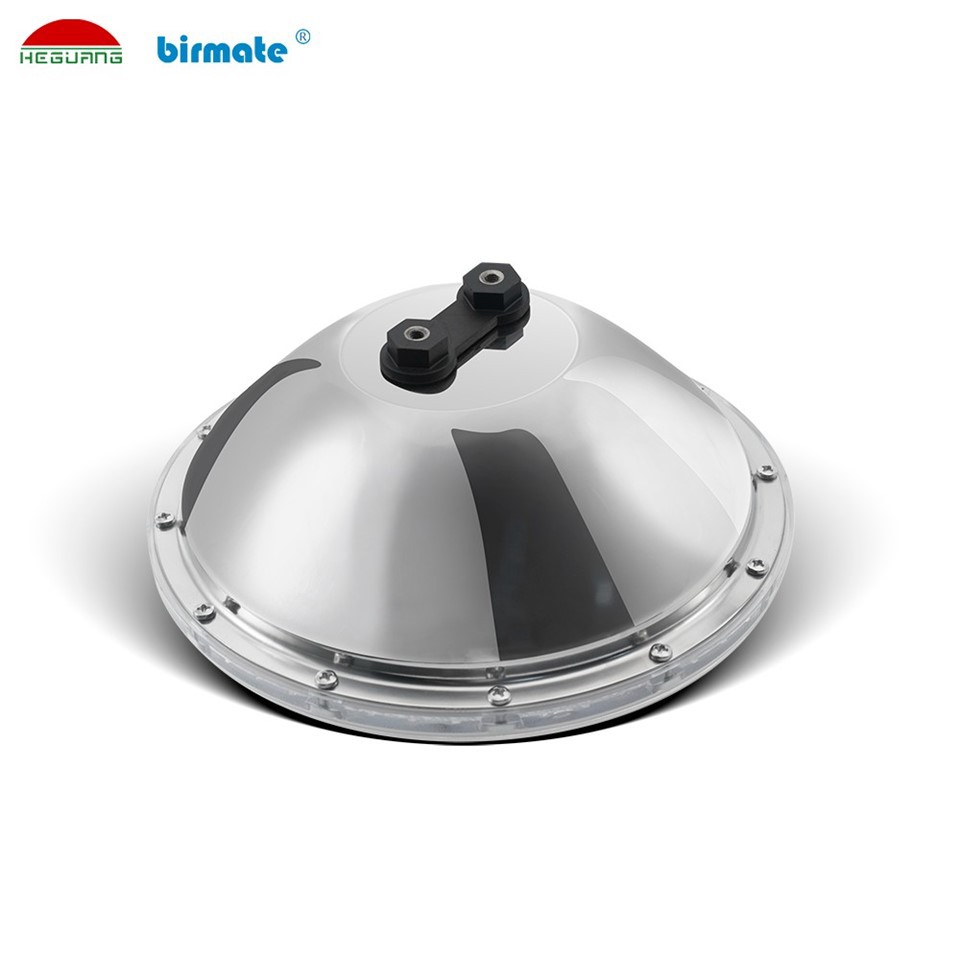
LED lights come in a variety of colors, too. You can choose from Led Color Changing Swimming Pool Light that can create a fun and vibrant atmosphere for pool parties or a more relaxing, single - color glow for a quiet evening swim. And let's not forget about their durability. Most LED pool lights are IP68 Waterproof Swimming Pool Lights, which means they can withstand being submerged in water without getting damaged.
Tools and Materials You'll Need
To install LED pool lights in a pool with a sloped bottom, you'll need the following tools and materials:
- LED pool lights (obviously!)
- A drill with the appropriate bits for your pool surface (usually masonry bits for concrete or tile pools)
- Screwdrivers (both flat - head and Phillips - head)
- Wire cutters and strippers
- Electrical tape
- A voltage tester
- Mounting brackets and screws
- Waterproof sealant
- A ladder (for easy access to the pool edge)
- Safety goggles and gloves
Pre - installation Checks
Before you start installing the lights, there are a few important checks you need to make. First, turn off the power to the pool area. You don't want to risk getting electrocuted while working on the lights. Use a voltage tester to double - check that there's no power running to the area.
Next, measure the area where you want to install the lights. Since your pool has a sloped bottom, you need to make sure the lights are placed at the right angles and heights for optimal lighting. You might want to mark the spots with a chalk or a non - permanent marker.
Also, check the pool surface for any cracks or damage. If there are any, it's best to repair them before installing the lights. A damaged surface can cause problems with the mounting and waterproofing of the lights.
Installation Steps
Step 1: Mount the Brackets
Start by mounting the brackets on the pool wall. If your pool has a sloped bottom, you'll need to adjust the angle of the brackets to match the slope. Use the drill to make holes in the pool wall and then insert the screws to secure the brackets. Make sure the brackets are level and firmly attached.
Step 2: Install the Lights
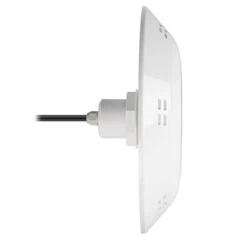
Once the brackets are in place, it's time to install the Inground Pool Led Lights. Carefully place the lights into the brackets and use the provided screws to secure them. Make sure the lights are facing the right direction for the best lighting effect.
Step 3: Connect the Wires
After the lights are installed, it's time to connect the wires. Use the wire cutters and strippers to prepare the wires. Strip about half an inch of insulation from the ends of the wires and then twist the corresponding wires together. Wrap the connections with electrical tape to ensure they're secure and waterproof.
Step 4: Waterproof the Connections
Waterproofing is crucial to prevent water from getting into the electrical connections and causing damage. Apply a generous amount of waterproof sealant around the wire connections and the base of the lights. This will help keep the water out and protect the electrical components.
Step 5: Test the Lights
Once all the connections are made and waterproofed, it's time to test the lights. Turn the power back on and use the voltage tester to check if there's power running to the lights. If everything is working correctly, the lights should turn on. If not, double - check your connections and make sure the power is properly connected.
Tips for a Successful Installation
- Work with a partner. Installing pool lights can be tricky, especially in a pool with a sloped bottom. Having someone to help you hold the lights, pass tools, or keep an eye on things can make the process much easier and safer.
- Take your time. Rushing through the installation can lead to mistakes, which can be costly to fix later. Make sure each step is done carefully and correctly.
- Follow the manufacturer's instructions. Every LED pool light is different, so it's important to read and follow the instructions that come with your lights. This will ensure that you install them correctly and don't void the warranty.
Maintenance and Troubleshooting
Once your LED pool lights are installed, regular maintenance is important to keep them working properly. Clean the lights regularly to remove any dirt or debris that might accumulate on them. Check the connections periodically to make sure they're still secure and waterproof.
If you encounter any problems with the lights, such as flickering or not turning on at all, the first thing to do is check the power supply. Make sure the power is on and that there are no tripped breakers. If the power is fine, then check the connections. Loose or damaged connections can cause problems with the lights.
Conclusion
Installing LED pool lights in a pool with a sloped bottom might seem like a daunting task, but with the right tools, materials, and a little bit of patience, you can do it yourself. The end result will be a beautifully lit pool that you can enjoy for years to come.
If you're interested in purchasing high - quality LED pool lights for your pool, whether it has a sloped bottom or not, feel free to reach out to us. We're always happy to help you find the perfect lights for your needs and answer any questions you might have. Let's work together to make your pool the envy of the neighborhood!
References
- "Pool Lighting Installation Guide" by Pool & Spa News
- Manufacturer's instructions for various LED pool lights